Berry No-Churn Ice Cream Recipe
Published May 16, 2024. This post may contain affiliate links. Please read my disclosure policy.
This delicious, simple-to-prepare, no-churn ice cream recipe with fresh berries will make you forget all about the local ice cream spot. You will be blown away at how amazing this tastes.
Who doesn’t like a sweet treat with coffee or something sugary after a meal? If you want to try out more delicious dessert recipes, you must try my Hummingbird Cake or Fudgy Brownies.
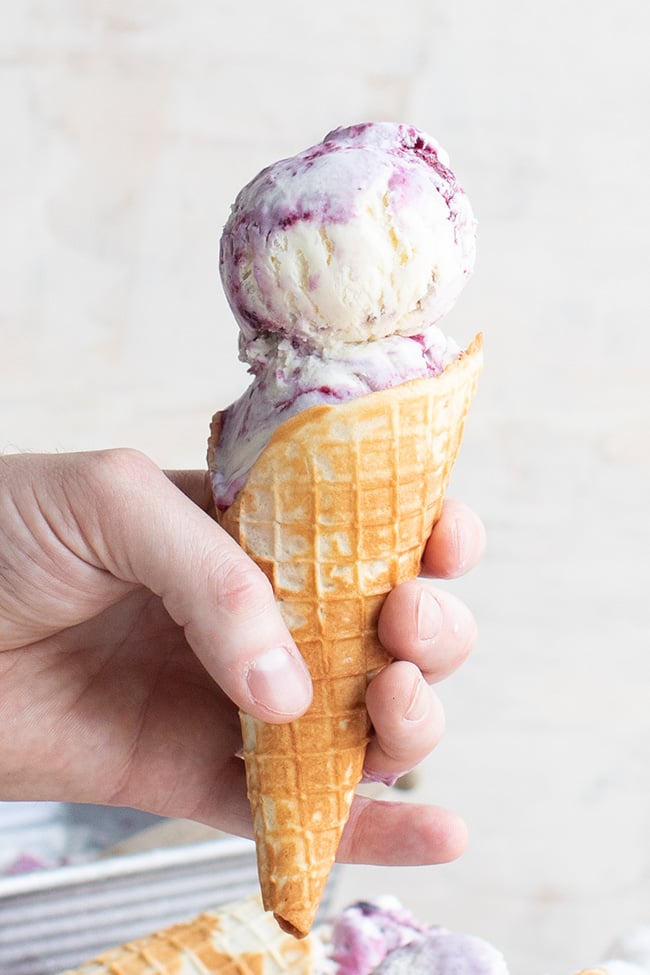
No-Churn Ice Cream
No-churn ice cream is ice cream that requires no churning. You simply combine ingredients and freeze. That’s it. While churning ice cream is important to help incorporate air into it, making it fluffier and lighter while preventing large ice crystals from forming, this is a much less tedious procedure that still renders excellent results.
The beauty of this specific recipe is that it only involves two ingredients: heavy cream and sweetened condensed milk. You can then add as many different ingredients as you’d like to make any flavor of ice cream you want.
Ingredients and Substitutions
- Cream – You will need cold, heavy whipping cream for this recipe.
- Condensed Milk – Sweetened condensed milk will help add body and sweeten up the ice cream.
- Berries – I used a combination of fresh blackberries, blueberries, strawberries, and raspberries. However, you can use just 1 or any combination of the four. Frozen berries can also be used.
- Lemon – A little lemon will enhance the flavors of the berries.
- Vanilla – I used vanilla extract.
- Sugar – granulated sugar is what you will need.
How to Make No-Churn Ice Cream with Berries
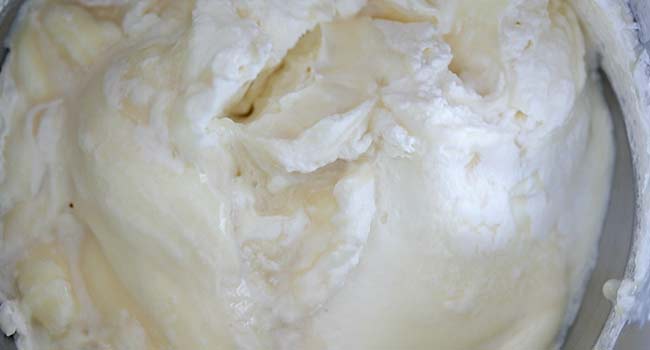
- Add the heavy cream to a standing mixer with the whisk attachment and whisk on high speed for 5-7 minutes or until stiff peaks are formed. Fold in the condensed milk and freeze for 1 hour.

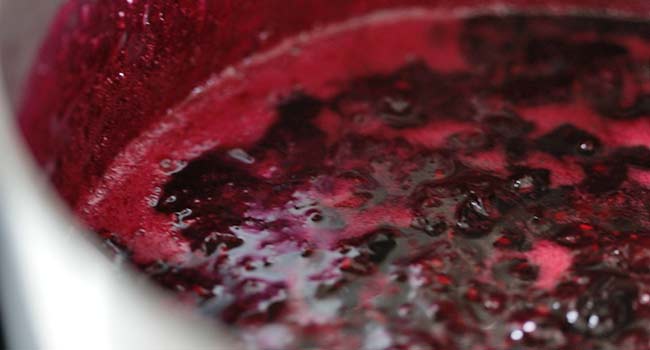
- Next, rinse the berries and add them to a medium-size pot along with the lemon juice, vanilla, and sugar. Cook over medium-low heat for 20 to 25 minutes or until the mixture is thick and slightly chunky. Freeze the mixture for 45 minutes to 1 hour.

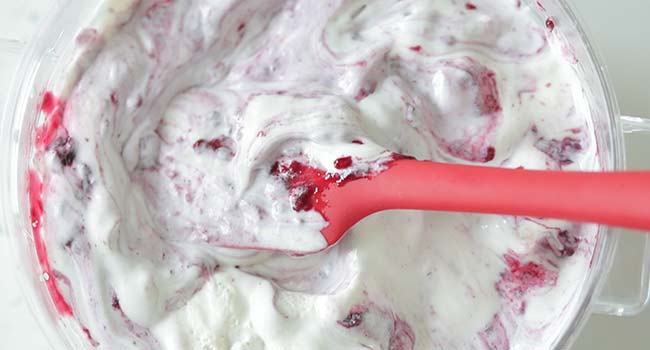
- Next, fold the berry mixture with the ice cream base, reserving about ¼ cup of the mixture.

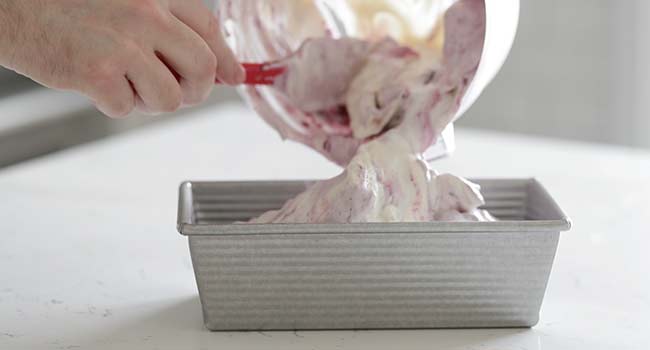
- Transfer it to a metal loaf pan and drizzle over the remaining chilled berry mixture. Freeze for 6 hours.

- Scoop the ice cream into the waffle cones and enjoy it.
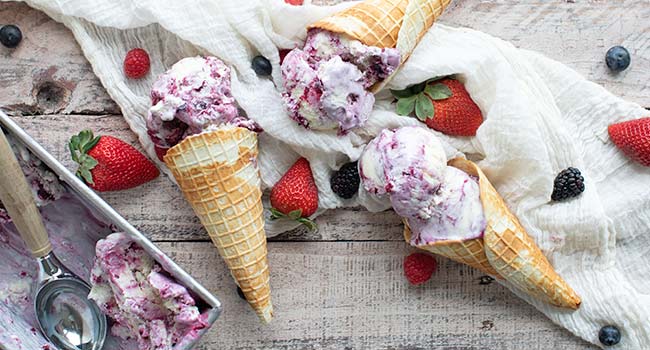
Make-Ahead and Storage
Make-Ahead: You can make this recipe several days before you want to serve it.
How to Store: Cover and keep the ice cream in an airtight container for up to 3 months.

Chef Notes + Tips
- Feel free to use any fresh or wild berries in this ice cream.
More Dessert Recipes

Video
Berry No-Churn Ice Cream Recipe

Ingredients
- 2 cups of cold heavy whipping cream
- 14- ounce can of sweetened condensed milk
- ½ cup each of fresh blueberries, blackberries, raspberries and trimmed strawberries
- juice of ½ lemon
- 1 teaspoon of vanilla
- ½ cup of sugar
Instructions
- Add the heavy cream to a standing mixer with the whisk attachment and whisk on high speed for 5-7 minutes or until stiff peaks are formed. Fold in the condensed milk and freeze for 1 hour.
- Next, rinse the berries and add them to a medium-sized pot along with the lemon juice, vanilla, and sugar. Cook over medium-low heat for 20 to 25 minutes, or until it is thick and slightly chunky. Freeze the mixture for 45 minutes to 1 hour.
- Next, fold the berry mixture with the ice cream base making sure to reserve about ¼ cup of the berry mixture.
- Transfer it to a metal loaf pan and drizzle over top of the remaining chilled berry mixture. Freeze for 6 hours.
- Scoop the ice cream into the waffle cones and enjoy it.



I made this and my guests raved about it! i served it in waffle bowls and added a sprig mo mint from my garden! Thanks so much for such a simple yet elegant dessert!
that’s awesome. Thanks for giving it a shot!!
Out of curiosity, could this recipe work in an ice cream maker too?
yes
This is so good and super creamy! I have made strawberry and today, blackberry. Yum!
This is what I need every night sitting in my backyard relaxing after the day I had…
Thank you Chef Billy
Thank you! This looks amazing!