Elevate your artisan bread-making skills with this Kamut Flour Bread Recipe. You get a crusty loaf of light and flavorful bread that stays fresher longer by using an Italian biga and three types of flour. Perfect for sandwiches, toast, and more!
If you’re looking for more freshly baked bread recipes for beginners and seasoned bakers alike, you’ll also love my Homemade Irish Soda Bread and Simple French Bread recipes.
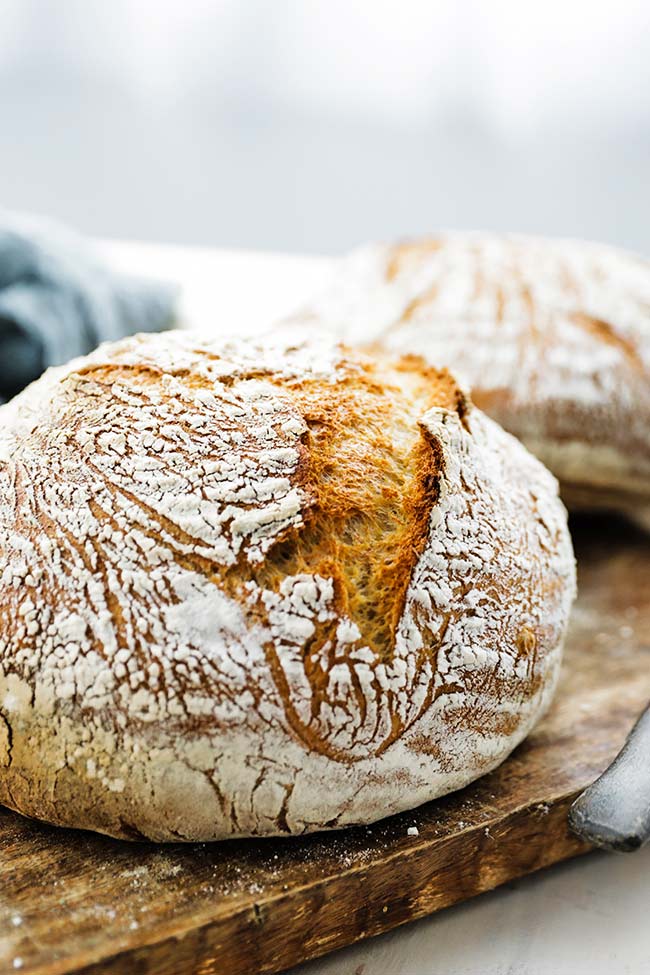
Kamut Flour Bread
Kamut flour comes from Khorasan wheat, a close relative of modern wheat, and is seriously one of the best flours you can use in baked goods. As the story goes, this ancient grain was discovered in Egyptian tombs, and a U.S. airman brought it back to the U.S. Today, Kamut brand Khorasan wheat is primarily grown and harvested in the central northern part of the U.S., particularly in Montana and North Dakota.
Kamut flour is celebrated for its rich, buttery taste and high levels of protein and minerals. It’s also easier to digest, making it an excellent alternative for those sensitive to regular wheat in homemade bread or pasta. Please note that kamut flour is NOT gluten-free.
Using a Biga
In this recipe, I’ll teach you how to make bread with kamut flour, starting with creating an Italian-style biga. This common pre-ferment is similar to sourdough starter or poolish and is key in making Italian breads like focaccia, ciabatta, and even pizza dough.
Mixing a small amount of yeast with a portion (typically 30% to 80%) of the total flour and water in this bread recipe and giving it 10 to 24 hours to ferment adds acidity and flavor while reducing the first rise time. The longer the biga sits, the more flavorful, light, and fluffy your kamut flour bread will be!
Ingredients and Substitutions
- Bread flour – This high-protein flour provides the structure and elasticity needed for bread with a good rise and chewy texture. If you don’t have bread flour, all-purpose flour can work, but I can’t promise the same chewiness and rise.
- Kamut flour – I used Bob’s Red Mill Kamut. It’s finely ground and similar in texture to Italian 00 flour. The bread dough might feel slightly stiffer when using Kamut flour, but this is normal.
- Ivory wheat flour – This is a softer, lighter flour that helps balance the density of the bread, resulting in a lighter crumb and a more tender bite. Remember to sift it before mixing, as it tends to clump together. This can also be substituted for regular whole wheat flour.
- Water – This simple but essential ingredient hydrates the flour, activates the yeast, and helps develop the gluten. Remember, the temperature of the water matters during the fermentation process. Follow the instructions precisely.
- Sea salt – It enhances the flavor of the bread and strengthens the gluten structure. Kosher salt also works.
- Active yeast – Ensure your yeast isn’t expired before starting. If you substitute instant yeast, mix it directly with the dry ingredients without first proofing it in warm water. The rise times will just be slightly shorter.
How to Make Bread with Kamut Flour
To prepare the biga, mix 550 grams of bread flour with 396 grams of 80°F to 82°F water and .5 grams of yeast in a large container until combined.
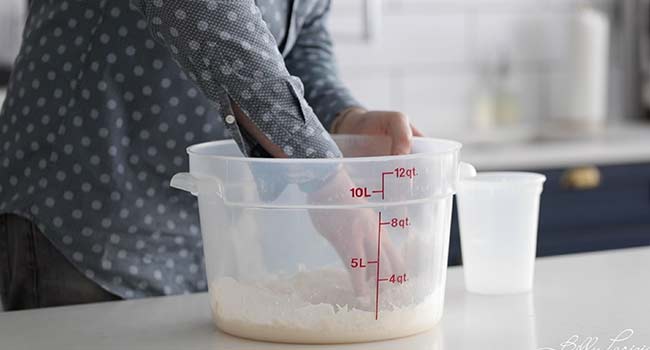
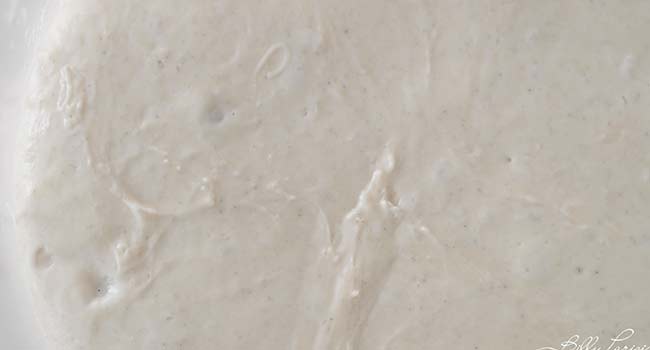
Cover and set it aside until it’s tripled in size. You’ll know the biga is ready when the top is slightly domed, and you see air bubbles.
In a separate large container, mix the remaining bread flour, kamut flour, ivory wheat flour, salt, remaining yeast, and remaining 100°F to 102°F water until combined.
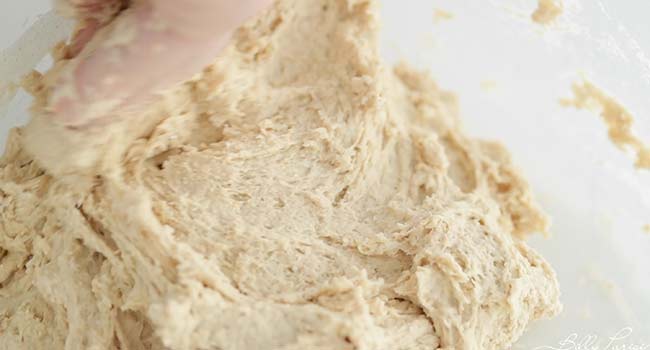
Add the biga to this mixture, then squeeze, stretch, and fold for a few minutes until thoroughly mixed.
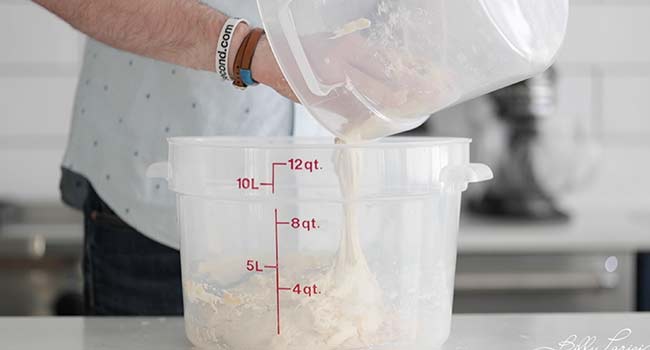
Cover the container and rest the dough for 20 minutes.
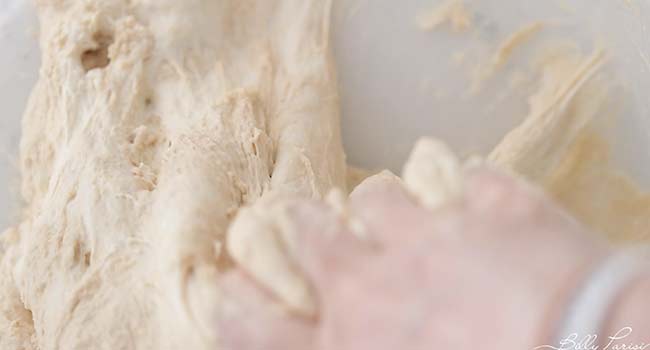
Fold the dough by stretching and turning it 6 to 8 times every 20 minutes for 80 minutes total. This technique, known as “stretch and fold,” strengthens the dough and ensures that the gluten is well-developed.
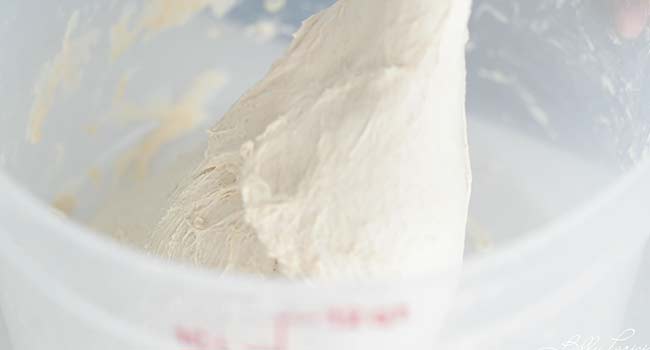
Cover and let the dough rest for 2 more hours or until it’s tripled.
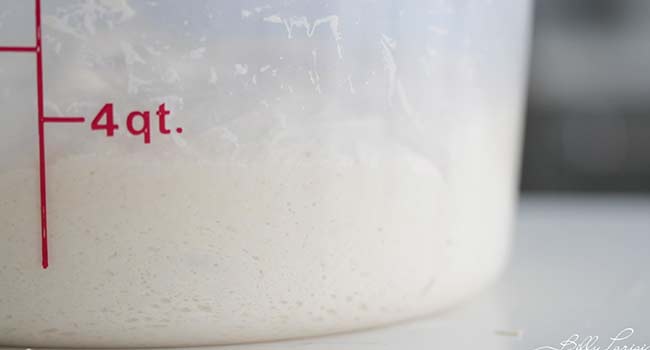
Divide the dough into two taught balls on a clean, flour-dusted surface. Transfer each dough ball to a floured proofing basket (banneton). Cover with a towel and proof for 60 to 90 minutes.
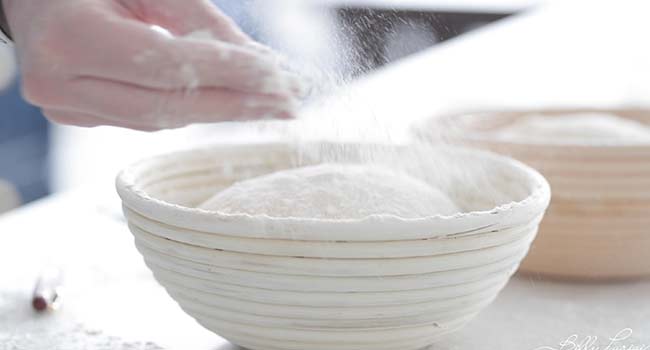
Place two Dutch ovens in your oven and preheat them to 500ºF. Remove them from the heat and set them aside for 30 minutes.
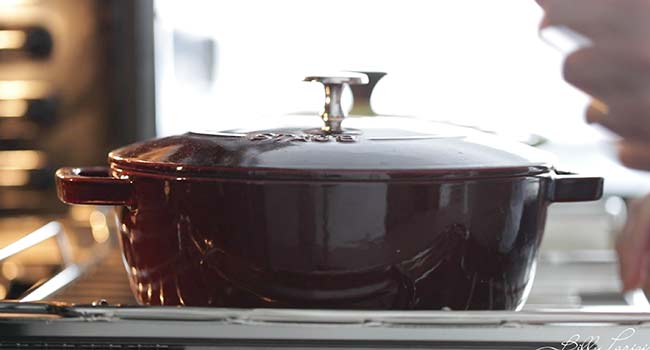
Carefully place a dough ball in each Dutch oven.
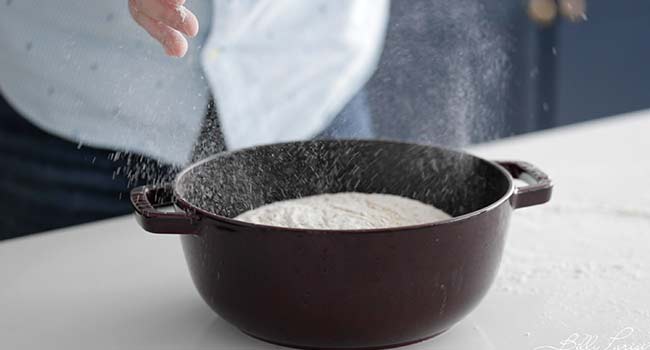
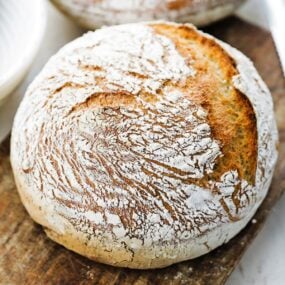
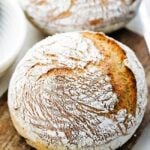
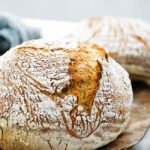
Cover, score it, and bake the bread for 30 minutes. Then, uncover and bake for another 20 to 25 minutes or until the crust is dark brown and crispy.
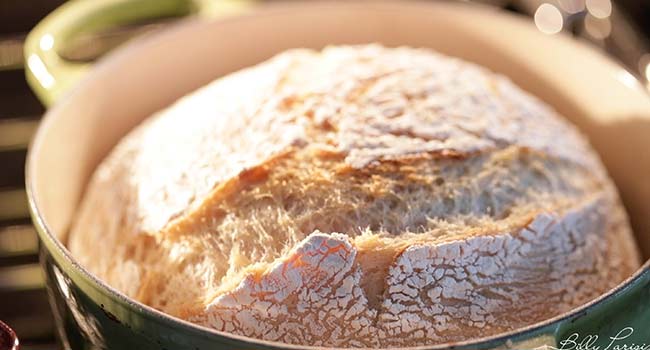
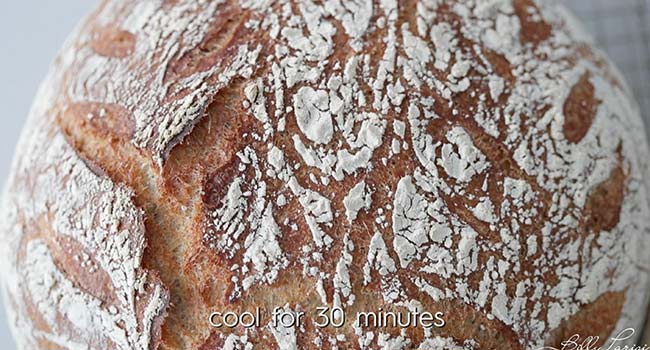
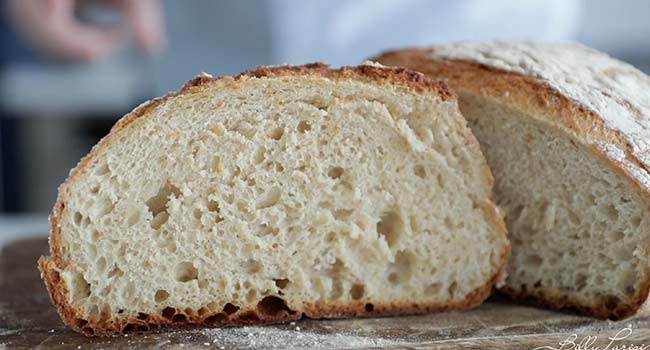
Allow the bread to cool on a cooling rack for 30 minutes to ensure the crumb is fully set and not gummy.
Slice and use your fresh kamut flour bread for a BLT, roast beef sandwich, smoked salmon tea sandwiches, or avocado toast. The three-day-old, slightly stale kamut bread is also perfect for French toast and bread pudding.
Make-Ahead and Storage
Make-Ahead: If you need to keep the bread warm before serving, wrap the loaf in aluminum foil and place it in a preheated 200°F oven for up to 30 minutes.
How to Store: Wrap the loaf in a clean kitchen towel or a bread bag and keep it on the kitchen counter for up to 2 days. You can also keep it covered and in the refrigerator for up to 10 days. Freeze it for up to 2 months. The higher acidity levels in the bread help extend its shelf life, so it lasts longer than regular bread.

Chef Notes + Tips
- Measure the ingredients with a kitchen scale for the most accurate measurements and results.
- If you don’t have a kitchen scale, use the scoop and level method to measure the flour. By spooning the flour into the measuring cup and scraping the excess off the top, you avoid adding extra flour to the dough and maintain the proper hydration ratio.
- Sift each flour separately to remove any lumps and to help aerate it before mixing.
- Time and temperature can make or break this kamut flour bread recipe. It’s very important that your dough rises in a warm place (like a preheated and turned-off oven) and that you check the temperature of your dough after kneading to ensure optimal fermentation.
- Always bake the bread in a preheated Dutch oven to help it rise faster (known as oven spring) and achieve a beautiful, crispy crust.
- Baking the bread uncovered during the last 20 to 25 minutes triggers the Maillard reaction. This is where the proteins and sugars in the dough caramelize to create a flavorful browned crust.
More Bread Recipes

Video
Kamut Flour Bread Recipe
Ingredients
- 650 grams bread flour
- 250 grams kamut flour
- 150 grams Ivory wheat flour
- 880 grams water
- 25 grams coarse salt
- 4.5 grams active yeast
Instructions
- In a large container, mix together 550 grams of bread flour with 396 grams of water at 80° to 82° and .5 grams of yeast until combined. Cover and let sit at room temperature for 10 to 24 hours or until tripled in size.
- In a separate large container, mix together the remaining 150 grams of bread flour, Kamut, ivory wheat flour, salt, remaining 4 grams of yeast, and remaining 484 grams of water at 100 to 102° until combined.
- Add the biga to the mixture and vigorously mix it by squeezing, stretching, and folding until thoroughly mixed in, about 3 to 4 minutes. Cover and let rest for 20 minutes.
- Fold the dough by stretching and turning it 6 to 8 times every 20 minutes for 80 minutes.
- Cover and let rest for 2 more hours or until tripled in size.
- Divide the dough on a clean surface dusted with flour and form 2 taught dough balls. Transfer each to a floured proofing basket, cover with a towel, and let proof for 60 to 90 minutes.
- Place 2 Dutch oven pots into an oven preheated to 500° and let them sit for 30 minutes.
- Remove the pots and place the dough carefully into each Dutch oven. Score it with a bread knife or blade, cover, and bake for 30 minutes, then uncover and bake for another 20 to 25 minutes or until the outside of the bread is dark brown.
- Set on a cooling rack for 30 minutes.
- Slice and serve.


Where is the container from you use to rest the biga and its name? I would like to purchase on.
cambro
What size Dutch oven do you use for this recipe and the artisan bread? I have a Le Creuset Dutch oven that seems too big. Mine is around 7qt.
that will work fine.
Could you use strictly Kamut flour in this recipe? My daughter is able to digest Kamut flour, but not any other flours. It is the first time we have been able to use anything other than Gluten-free flour. I’d love to find a great “pure Kamut” bread option. Thank you for any feedback.
Without trying precisely that, I’m not sure of the results with my current other ingredients.
Hi Danielle, look also into Einkorn and Tritordeum flours. They are the only ones my son can digest on top of Kamut
I made this with 100% fresh ground kamut flour and it was very tasty. I did need to add a bit more flour though, otherwise it was too sticky to work with. That might well just be due to the flour I was using, but judge for yourself. I also cut the salt to 15 grams, but that’s largely a matter of preference.
Thank you for giving it a shot!
It’s very tasty. Nice texture. Though my crust wasn’t “craggy” looking. Cud be b/c I baked it at a bit lower temp. And I forgot to slash it. I will definitely make it again. I made 1/2 the recipe, having only 1 Dutch oven.
I think I’d add a bit more sea salt the next time – maybe a 1/4 tsp more.
I noted that in 3-4 spots when comparing the blog, the recipe, and the video, that amounts/instructions don’t quite jive. I’m an experienced bread maker so I soldiered on! 🙂 It wasn’t a big deal.
I used ground whole wheat flour b/c I cudn’t find the Ivory White flour. I read on one site that that was OK to do that. I will keep a lookout. Or go online.
The stretching and folding was so easy (and fun!) and took a short time. I found it easier to do with wet hands. I plan to do that step 4x – 5x the next time I make it.
I had to use more flour (hard bread flour) on the board (and my hands) when I was shaping it into a ball than I’d expected to need…
The first time I tried, I put the “quite soft” ball into my proofing bowl, but after about 15 minutes, I decided to give it a few more stretches and foldings. After the next 20 minutes, it was easier to shape into a ball and to get “proper skin”.
I used the poke test to assess for readiness for baking. (Using both a wet finger and a floured finger).
I used parchment paper in an old fondue bowl and placed the ball with the parchment paper into my hot Dutch oven and that worked well. The baked loaf came off the paper perfectly. Foolishly, I first added flour to the hot pot. It wasn’t needed, of course. Scorching hot flour doesn’t smell that great! I quickly discarded it.
When I removed my bread from the oven, the outside crust very, very hard, and I panicked a bit, but it softened very quickly. It took less time to reach the correct internal temp (200 degrees?) than the time stated on the recipe even though I had used 450 degrees vs 500. Perhaps b/c I use a convection oven?
As one person remarked, I think this wud be amazing with chopped and drained Kalamata olives.
Thanks for the recipe and the video!
Helen K, Burlington, Canada.
I couldn’t believe I made this without messing it up! So good and not difficult. Thanks!
Where can I get Kamut and Ivory wheat?
most likely amazon or a specialty grocer.
I had to sub AP flour for the Ivory Wheat Flour-it’s out of stock everywhere. I checked Amazon, Walmart Online, Bob’s Red Mill and Vitacost. It still tastes good! Have you used this for focaccia or pizza crust yet?
Hi James. You can purchase Kamut flour online at Montana Flour & Grains, too. Their website is montanaflour.com. I have purchased Kamut flour from them and I believe the quality is excellent (albeit pricey due to shipping costs). Good luck!
Just for info. I have looking for the Ivory Wheat Flour also, Bob’s Red Mill has discontinued their brand. I still looking to see it’s made by any other company.
Thanks for sharing this recipe. Question about bread flour: is total amount 650g or 700g? In recipe it said 550 g in Biga and remaining 150g in dough.
650
great recipe. i am making for second time. And just also noticed the 550 and 150 in the recipe. So you should just add 100 extra, not 150?